It Takes 4 Easy Steps
I love plants. Flowers. Seeds. Anything that blooms and grows.
There's just something uplifting about watching things take root. And something equally therapeutic about cutting a straggly plant back so it can regenerate, or snipping off dead leaves to make way for new ones.
My kids love it too.
They can't wait to tell me when they first spot a plant getting a new bud.
For some of us, though, it's hard to keep a big garden growing all year long. It takes maintenance and time.
It's impossible to keep outside during frigid cold winter days, and, of course, it takes space.
If you have a really small backyard like us, living by the beach, there's not a lot of room and you've got to get creative about your plants.
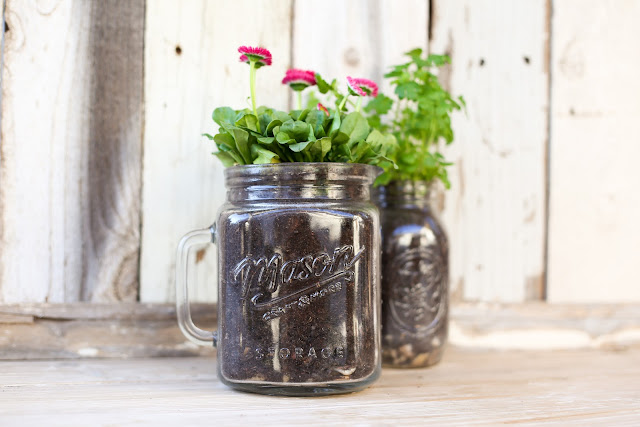
That's what I love about these Mason Jar Gardens.
Anyone can make them, adults or kids. They're small, portable, adorable and can be placed just about anywhere inside by a bright window, or outside on a porch.
They're also inexpensive: you just need seeds, dirt, rocks and a mason jar you can get by the packs at Walmart or Target.
Making them is fun too. It just takes 4 easy steps.
Step 1
Get a mason jar and place a generous handful of rocks on the bottom of the jar. More rocks for bigger jars. I'd say about 1/3 of the bottom of the jar should have a thin layer spread about like the one pictured below with the handle.
This will help the soil drain and dry out, and will prevent water from collecting and rotting the roots.
Step 2
Fill the mason jar with dirt. Be sure to leave about 1/3 of the jar from the top empty so when you water the plant dirt won't overflow and spill everywhere.
Step 3
Plant your seeds about 3" or so into the dirt from the top, similar to the instructions on a seed packet. As they start to grow, you'll see the roots start to extend down to the bottom of the jar and the plant will sprout.
Step 4
Water your plant. You don't need to soak the plant every day. Rather, you can water it every 3 days with a small amount of water, just enough to keep the dirt moist and let it dry in between. The soil can be your gauge. If it feels dry add water. Too moist, let it go for an extra day or so. It's helpful to use a spray bottle filled with water to dampen down the soil too.
I want to help get you started too. I love the idea of seeing these little gardens growing everywhere. It's a fun activity to do with your kids.
So SheBloom is now tucking a little packet of seeds into every purchase received through www.shebloom.com from now on.
I want you to take your seeds and create your own gardens and share your pics with us! I can't wait to see what your love can grow! xoxoxo Jen Zerrer


Comments
Post a Comment